
What’s New in RFix
Bring your RF scenarios into real terrain
Give your signals a place in the real world. Build a scene with terrain and buildings, explore it in 3D, and see how the environment shapes the signal that reaches your receiver.
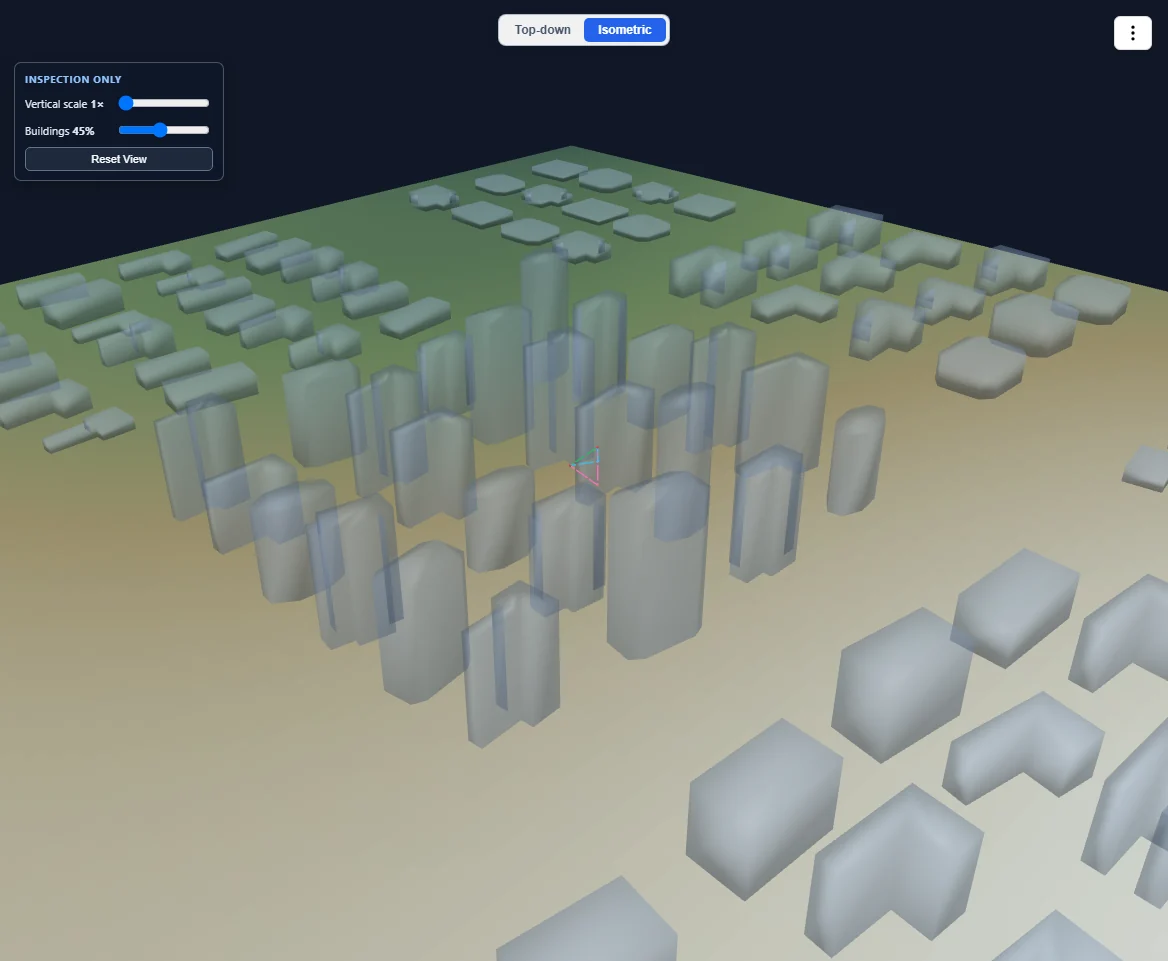
Start with the Topographic Radar Scene
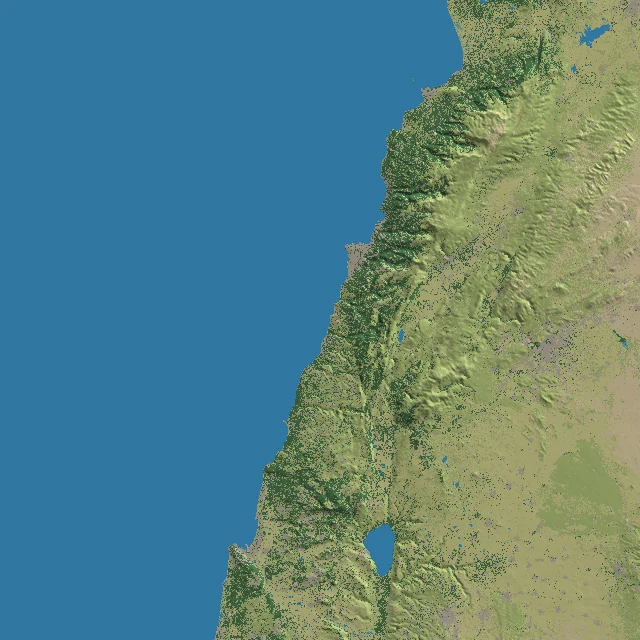
Explore ship radars and an aircraft over real terrain, ESA WorldCover land cover, and OpenStreetMap buildings. This example requires RFix Desktop and paid blocks. Download it once from Examples, then reuse it offline.
- Open Examples and choose Topographic Radar Scene. The tile shows its download size and progress.
- Open Map and switch between Top-down and Isometric to explore the scene. Edit endpoint positions in Top-down view.
- Try changing an emitter or sensor position, or the channel’s carrier frequency. Generate the signal and inspect the received IQ.
Connect the scene to your signal
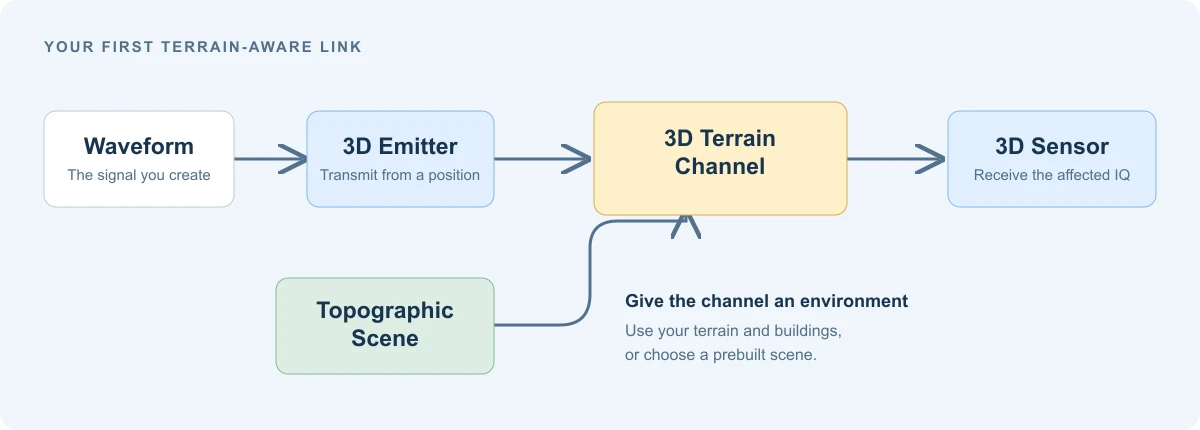
Topographic Scene supplies the environment. The 3D Terrain Channel uses that scene and your endpoints to calculate the received signal.
- Connect your waveform to a 3D emitter, then connect the emitter to a 3D Terrain Channel.
- Connect one Topographic Scene to the same channel, then connect the channel to a 3D sensor. Match the channel carrier frequency to your signal.
- For your own terrain, choose Terrain and buildings in Topographic Scene and add elevation GeoTIFF files. Buildings GeoJSON and land cover are optional.
No terrain files? Try a prebuilt scene
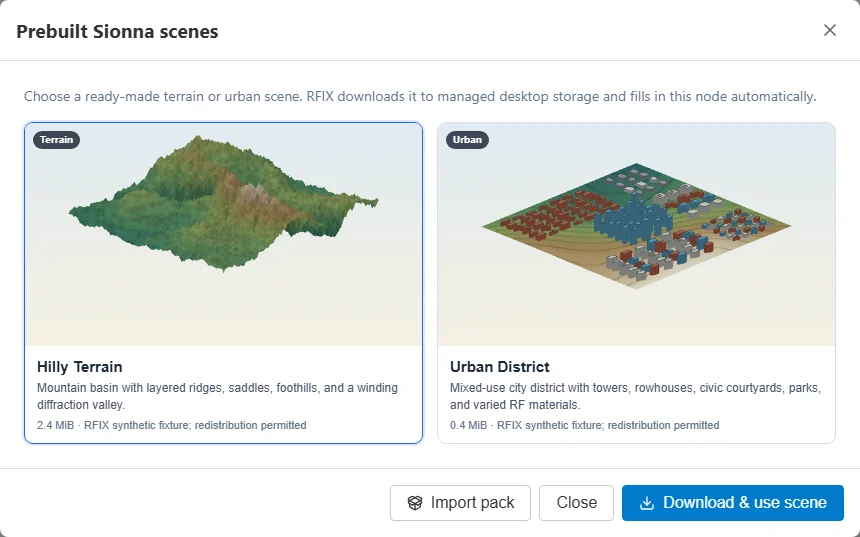
Start with a ready-made environment using the scene picker directly on your Topographic Scene node.
- Under Prebuilt scenes, click Browse scenes.
- Choose Urban District for an environment with buildings, then confirm your selection. RFix downloads the scene and fills in the node automatically.
- Connect the scene to your 3D Terrain Channel and place the emitter and sensor within the scene.
Watch rays bounce off buildings
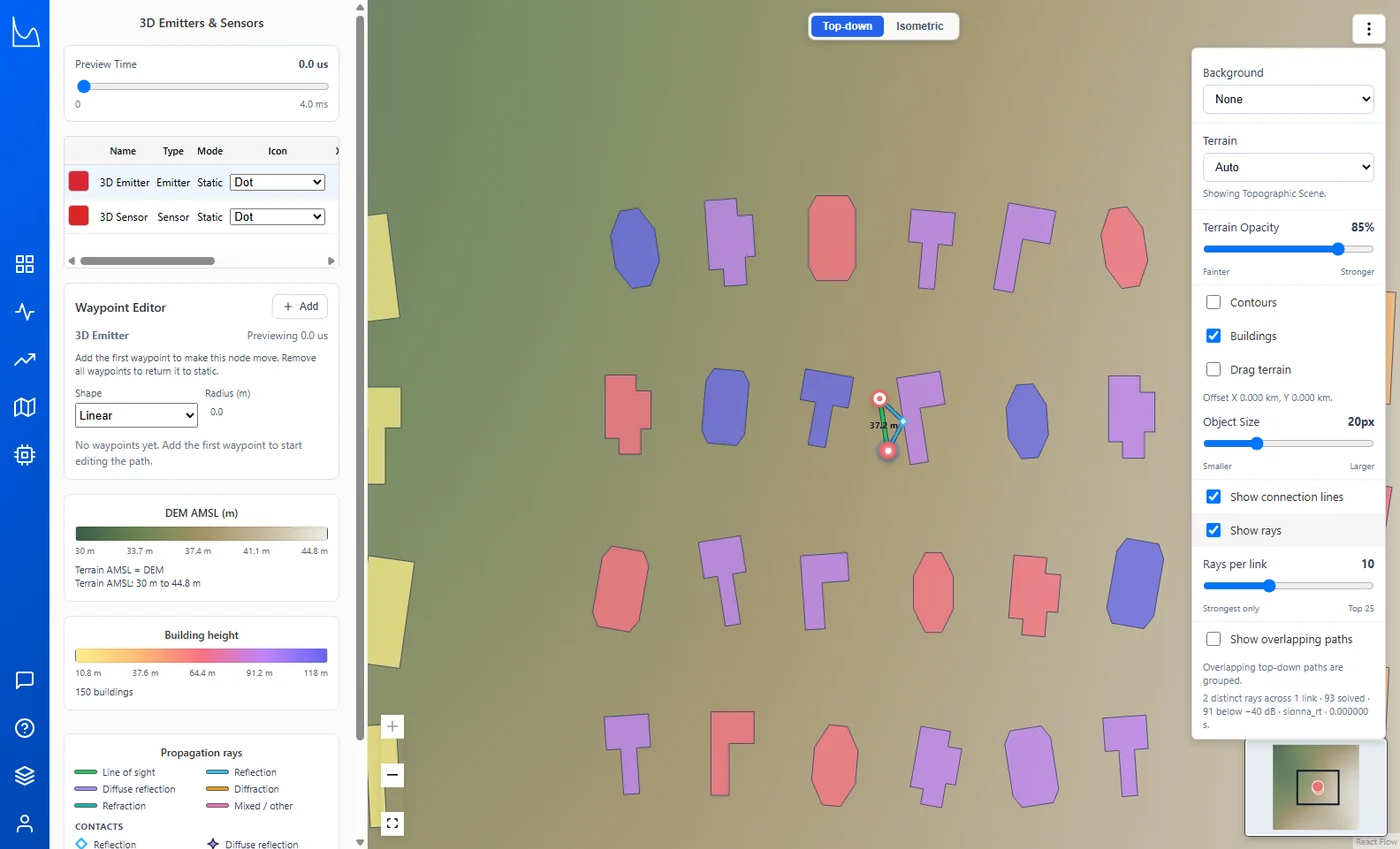
In Map, open the options menu and enable Show rays. Inspect the calculated paths between connected endpoints, including reflections bouncing off buildings. The paths depend on the scene and endpoint placement.
- Make sure the Sionna RT runtime is available. Show rays requires Sionna RT in the desktop app.
- Select a connected emitter or sensor to inspect its links, then enable Show rays in the Map options menu.
- Increase Rays per link to display more calculated paths. Try moving an endpoint in Top-down view and inspect how the paths change.
Choose the right starting point
Local Topography works without installing a Sionna runtime pack. Use it for terrain-aware links, and use Sionna RT when you want ray tracing and Show rays.
Check Generation Details to see which backend actually ran. Preview fallback does not treat terrain or buildings as blockers. Land-cover colors and isometric display exaggeration do not change RF materials or physical terrain.
In RFix Desktop, open Examples → Topographic Radar Scene.